How to Light a Brand Event So It Looks Expensive
How to Light a Brand Event So It Looks Expensive
You don’t need a Hollywood budget — you need layers, sane colour temperature, and a cue plan that stops the room turning into “blue doom”. This is the practical, London-friendly setup that makes iPhone content look genuinely premium.
Quick answer (the “expensive” recipe)
Expensive lighting is rarely “more lights”. It’s better placement, cleaner colour, and depth. On iPhone, that means: soft light for faces, controlled colour on the background, and haze used like seasoning (not soup).
- ✨ Lighting layers
- 🌡️ Colour temp
- 🚫 “Blue doom”
- 🌫️ Haze tips
- 🎥 iPhone settings
- 🏙️ London logistics
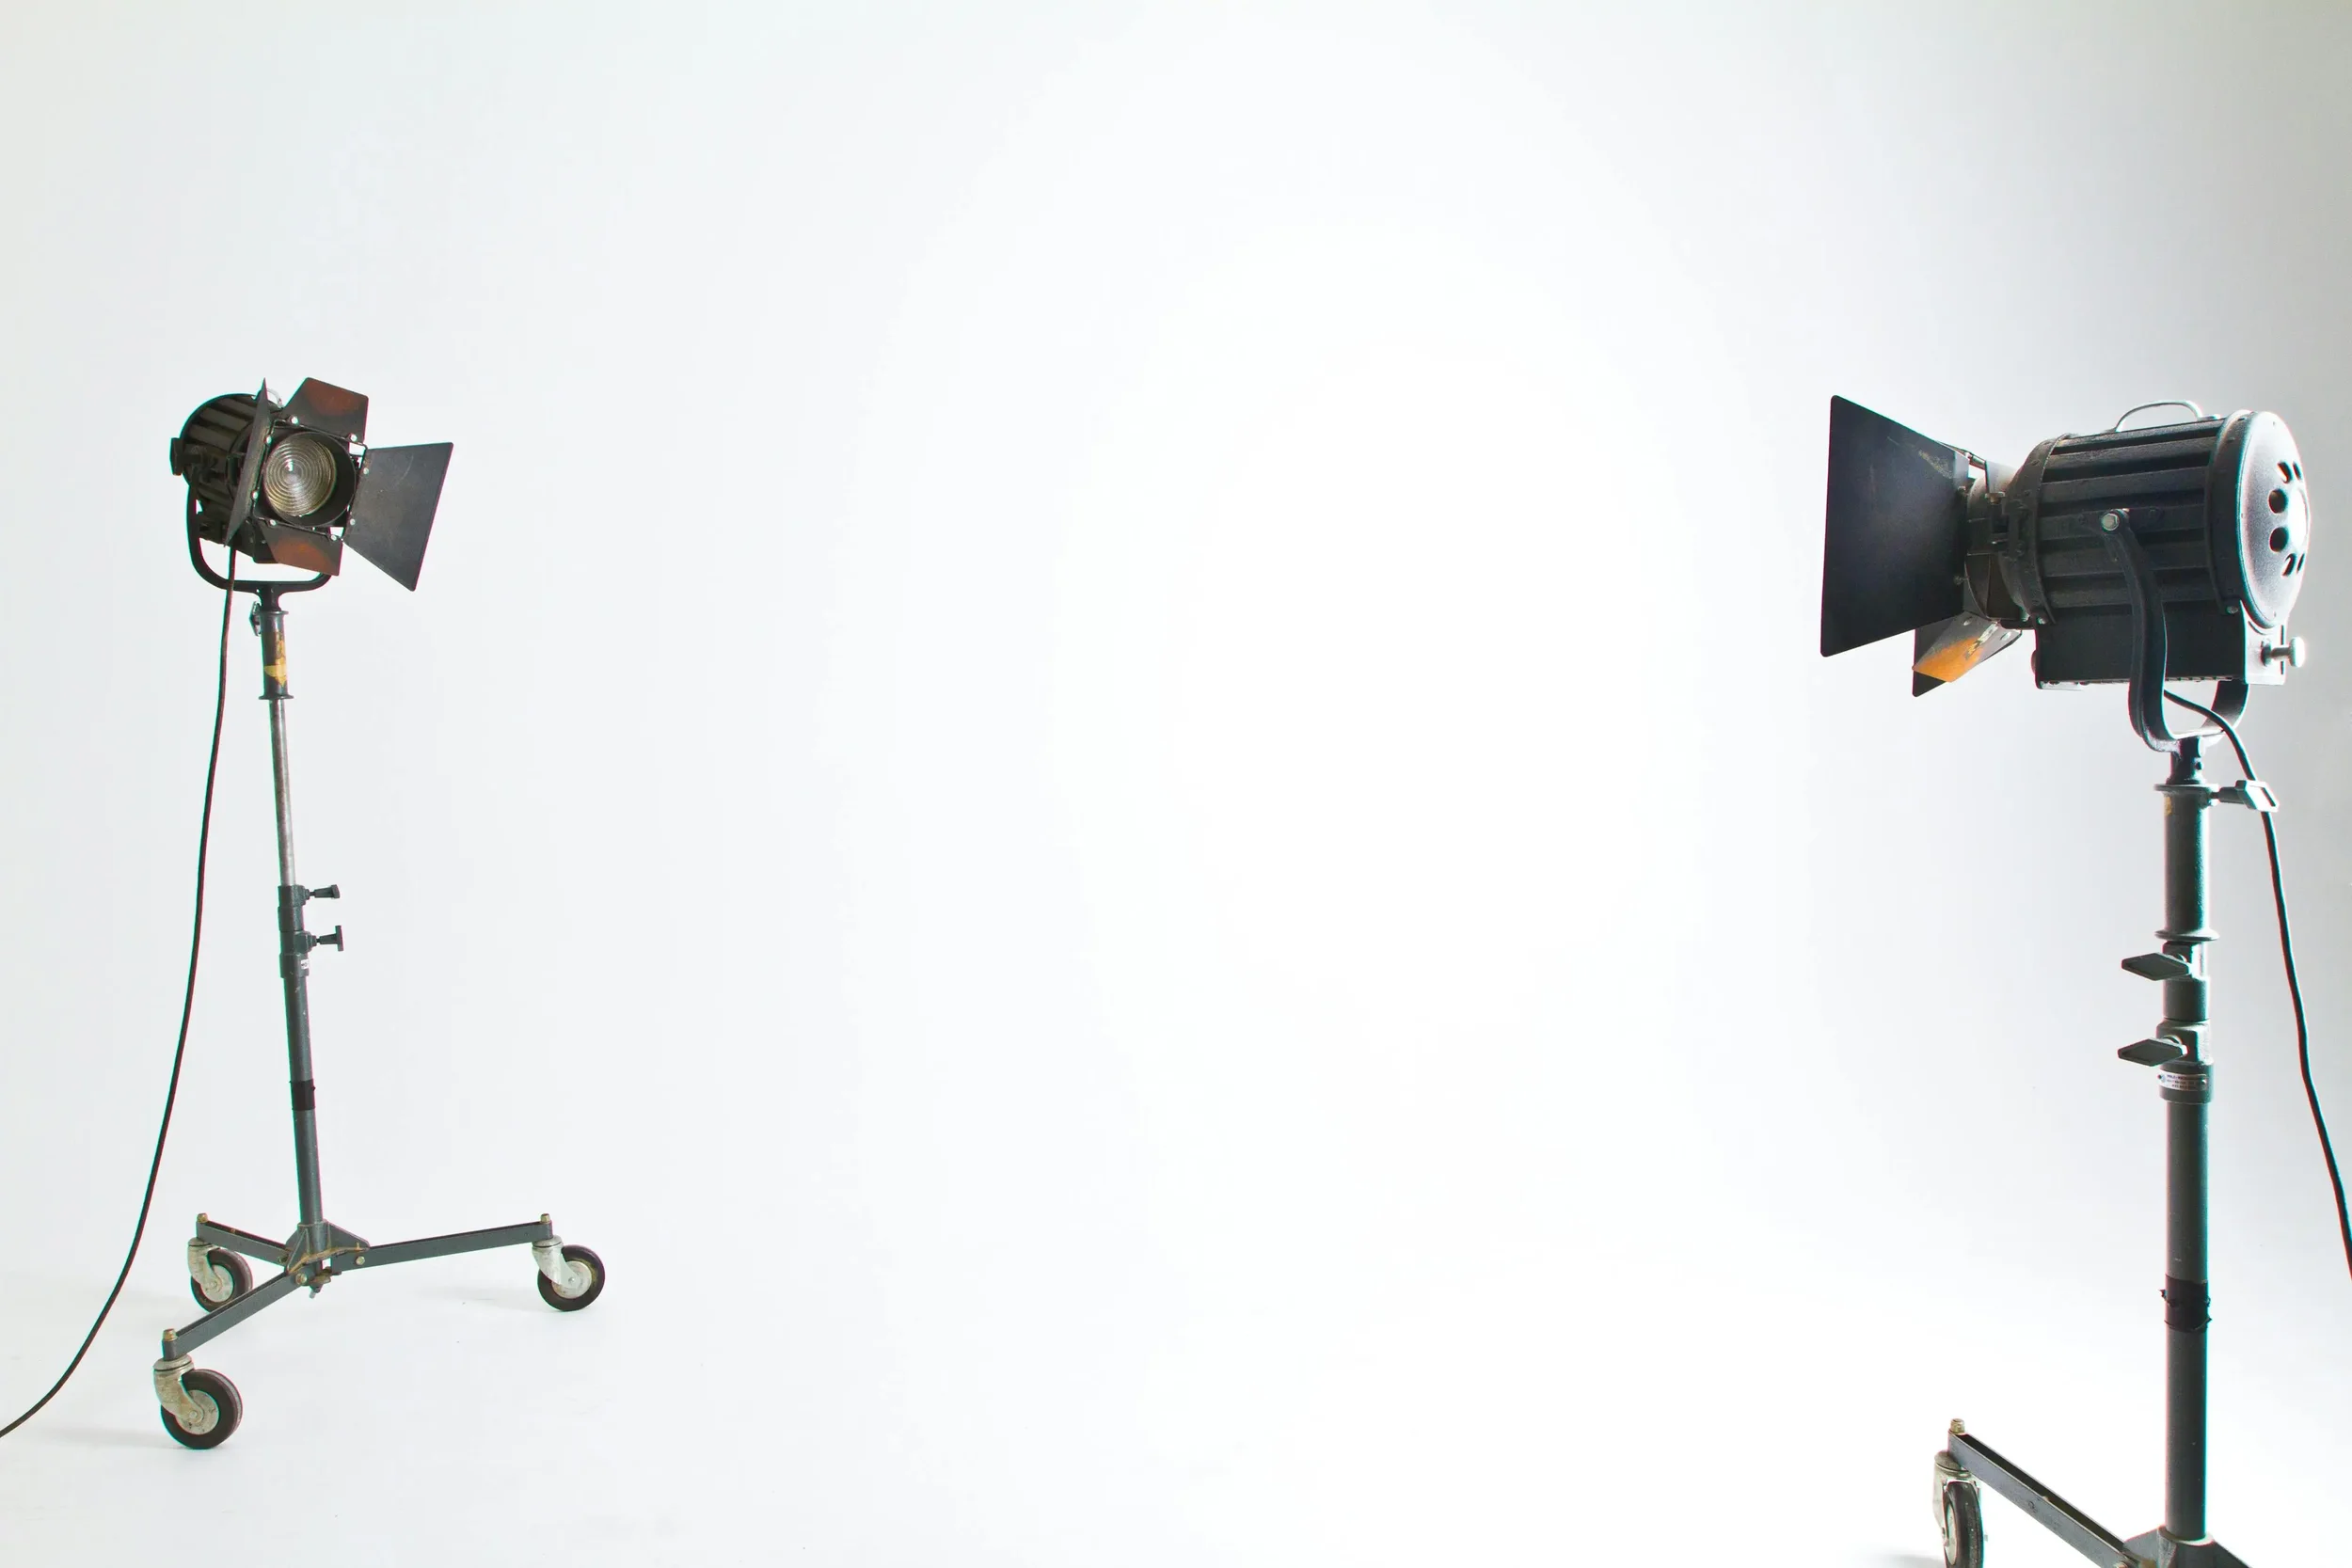
Lighting layers that read as luxury
Think of the room like a product shoot: you need good faces, depth, and controlled sparkle. This is the layer stack that consistently looks expensive — even when guests are filming on iPhone.
1) Key light (faces)
- Soft & flattering beats bright & harsh.
- Place front light slightly off-centre (not straight-on).
- Goal: eyes and skin look alive, not grey.
2) Fill (no raccoon shadows)
- Gentle fill stops heavy under-eye shadows.
- Keep it subtle — you want shape, not flatness.
- On iPhone, fill = less noise and cleaner video.
3) Background texture (depth)
- Use uplights to create separation from the background.
- Even a simple gradient on walls looks premium.
- Depth makes the room feel “designed”.
4) Accents (sparkle, not chaos)
- Use moving heads/beams sparingly for moments.
- Accents should frame content, not destroy it.
- Premium = control + restraint.
If you’re building a clean brand look, keep the faces warm and consistent, and push the bold colours into the background.
Colour temperature made simple
Expensive content has natural skin tones. Cheap content has confused colour (green faces, blue faces, or a weird mix). The fix is boring — and that’s the point: pick a temperature lane and stay in it.
- Warm faces (often 3000–3500K)
- Cool accents on background only
- Avoid mixing random bulbs
- Match uplights to brand palette
- Test on iPhone early
Practical trick: do a 30-second “look test” in the space on an iPhone before guests arrive. If the faces look good, the whole event looks good.
Avoiding “blue doom” (the fastest way to look cheap)
“Blue doom” is when the whole room goes cold and people look like they’ve been medically preserved. iPhones cope… but they won’t save you from lighting that’s nuking skin tones.
Do this
- Keep the front light warmer than the background.
- Use blues/purples as accents, not face light.
- Use neutral white for speeches + key moments.
Avoid this
- All-blue wash across the room.
- Mixing venue tungsten with random LED hues.
- Beams aimed directly into camera lines.
The most “luxury” move is consistency: one clean look for content, then switch to party modes after you’ve banked the shots.
Haze: how to make it cinematic (not foggy)
Haze is brilliant when it’s controlled — it reveals beams and adds atmosphere. It’s awful when it’s overused — it softens everything and turns content into mush.
Haze that works
- Use light haze: “visible beams” not “lost in cloud”.
- Run it in bursts, then let it settle.
- Keep key light clean on faces.
Haze that breaks iPhone video
- Haze pumped constantly at high output.
- Bright fixtures firing directly at lenses.
- Too many colours competing at once.
If the event has important on-camera moments (launch reveal, founder speech, VIP arrivals), lock a “content look” first — then unleash the beams later.
iPhone capture cheat sheet (so the lighting shows up properly)
Lighting and camera settings are a team sport. This keeps your content clean, sharp, and not weirdly flickery.
| What you’re filming | Lighting move | Quick iPhone move | Why it looks expensive |
|---|---|---|---|
| Speeches / interviews | Warm, soft key + gentle fill | Tap face to focus + reduce exposure slightly | Natural skin + clean background depth |
| Walk-ins / arrivals | Even front light, accents on walls | Hold phone steadier + don’t over-zoom | Faces stay clear while room looks designed |
| Launch moment | Neutral “content look” first, then effects | Start recording early (10–15s) before cue | You capture the moment without chaos |
| Afterparty | Introduce beams + colour slowly | Keep the brightest fixtures out of frame | Energy without blown highlights |
If you want one simple rule: protect faces, push colour into the background, and avoid blasting lenses.
London venue reality: access, lifts, curfews
London brand events often live near residential areas — which means curfews and tight load-in windows are common. A realistic pattern we see a lot: last load-out around 11pm to avoid noise complaints, then an early-morning loading bay slot the next day.
- 🛗 Lift booking times matter
- ⏱️ Curfews can limit load-out
- 🚚 Timed access to loading bays
- 🔇 Residential noise sensitivity
- 👤 Clear cue ownership
The secret weapon isn’t magic — it’s buffers, clear cue ownership, and one clean handover into the party. If you want the venue-side planning prompts, this is also useful: 15 venue questions before booking entertainment.
Want your event to look premium on every camera?
Share the venue, timings, and your brand colours. We’ll build a lighting plan that protects faces, adds depth, and keeps the room looking expensive — even on iPhone.
Fast checklist: the premium look, every time
Before doors
- Choose a “content look” (warm faces + clean depth)
- Test iPhone shot angles in 2–3 key spots
- Confirm who calls cues (one owner)
During the event
- Protect faces (no heavy blue on people)
- Use haze lightly (bursts, then settle)
- Save heavy effects for after key content
London-specific note: add buffer time for lifts, security sign-ins, and timed loading bay access — it keeps the whole day calm.
FAQs
What’s the quickest way to make lighting look expensive on iPhone?
Use layers: soft key for faces, subtle fill, and background texture (uplights). Keep colour temperature consistent so skin tones stay natural.
What is “blue doom” and how do we avoid it?
It’s when everything goes cold-blue and faces look grey. Keep front light warmer and use saturated blues mainly on walls/backgrounds, not faces.
Does haze ruin photos and iPhone video?
Only if overused. Light haze in bursts looks cinematic. Heavy haze can soften content and reduce clarity.
Do uplights actually matter?
Yes — uplights create depth and make the room feel “designed”. That depth reads as premium on camera.
Are London venues stricter about access and curfews?
Often, yes. Timed load-ins, lift bookings and residential curfews are common. Planning buffers and cue ownership keeps it stress-free.
Can AO Events handle lighting for London brand events?
Yes. AO Events supplies lighting, install and on-the-night control. Send venue + timings via Contact.
Need a London lighting plan that films beautifully?
Send your venue, date, and brand colours. We’ll recommend a setup that looks premium on iPhone, reads well in photos, and stays calm under London access rules.
AO Events · Brand event lighting · London installs · iPhone-friendly lighting layers · Colour temperature control · Haze tips · Clean cue ownership.
Event Lighting London Events Areas We Cover Contact AO Events 15 Venue Questions Before Booking Entertainment How to Keep a Wedding Dancefloor Full All Night LED vs Chequered